What Is the Process for Replacing a Knocked-Out Front Tooth with a Dental Implant?
Losing a front tooth can be distressing and challenging, especially when it impacts your smile and confidence. Fortunately, dental implants offer a reliable and natural-looking solution to restore a missing tooth. Replacing a knocked-out front tooth with a dental implant involves a few essential steps, ensuring a comfortable fit and a seamless result. In this blog, we’ll walk you through each phase of the implant process so you can understand what to expect when restoring your smile.
Step 1: Initial Consultation and Assessment
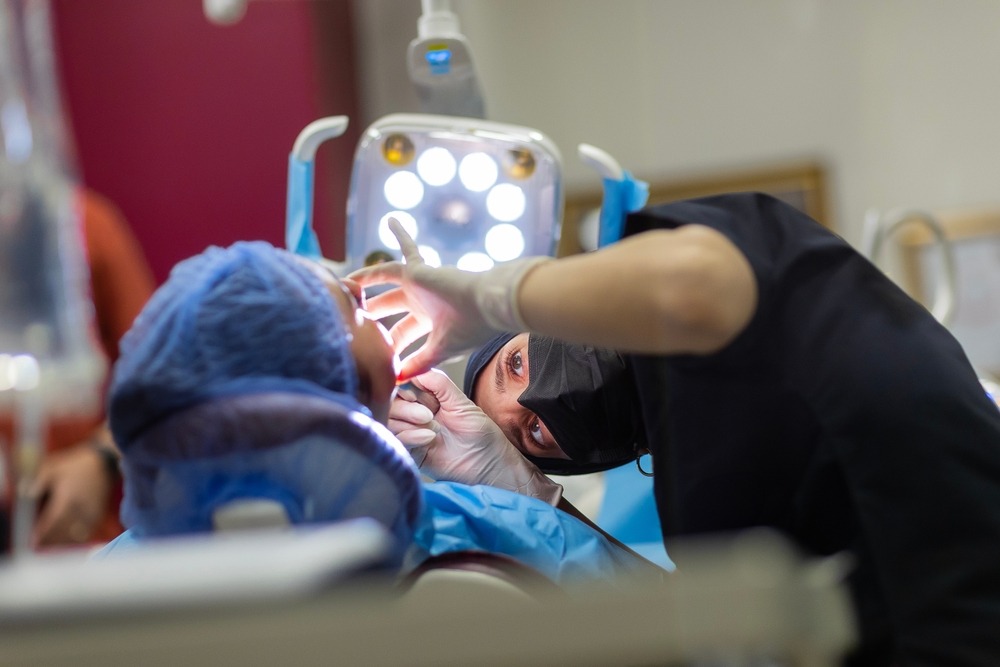
The journey to a new front tooth starts with a comprehensive consultation. During this appointment, a dentist or oral surgeon will assess your overall oral health, review your dental history, and examine the condition of your gums and jawbone. Imaging tools such as X-rays and 3D scans are often used to evaluate whether your jaw has enough bone to support an implant. This evaluation helps determine if additional procedures, like bone grafting, may be necessary to prepare the implant site.
Step 2: Bone Grafting (If Needed)
In cases where the jawbone has lost density or volume, a bone graft may be required before placing the implant. This procedure strengthens and supports the bone structure, creating a stable foundation for the implant. Bone grafting can involve using bone material from another part of your body or a synthetic substitute to fill areas with bone loss. Depending on the extent of the graft, recovery time may vary, but it typically takes a few months for the new bone to integrate fully and become strong enough to hold an implant securely.
Step 3: Implant Placement
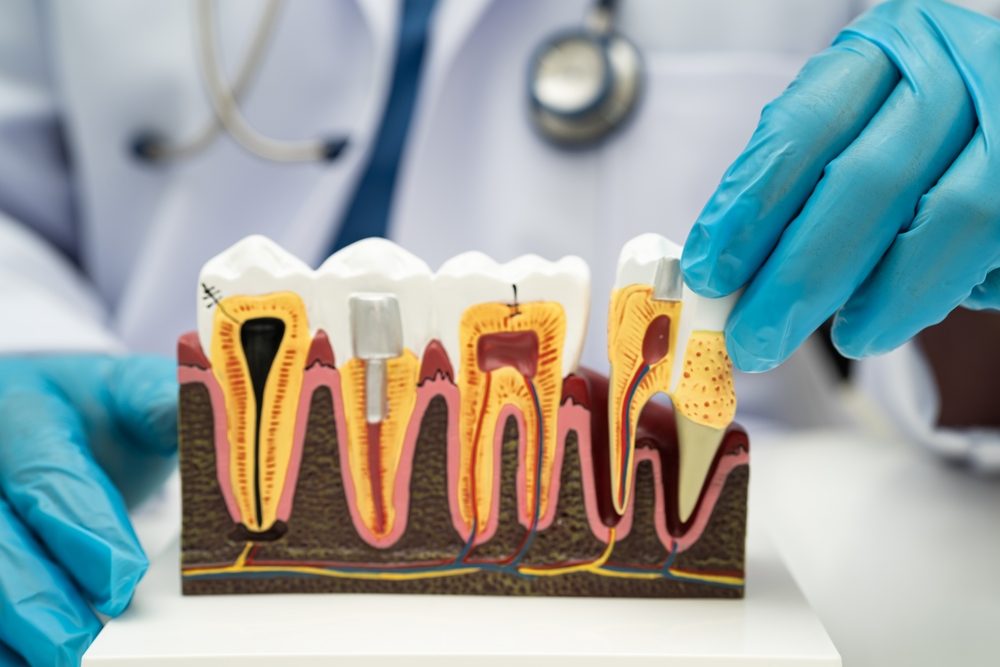
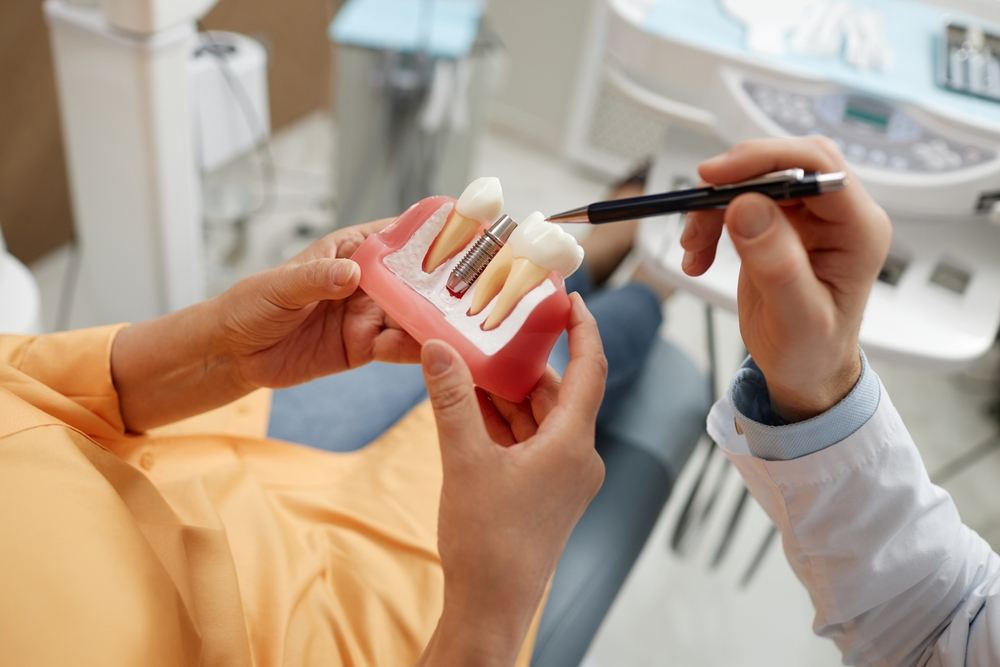
Once the jawbone is ready, the dental implant can be placed. This surgical procedure involves inserting a titanium post directly into the jawbone at the location of the missing tooth. Over the following months, the implant post gradually fuses with the bone through osseointegration. This bond provides the stability needed for a long-lasting, durable replacement tooth. During this time, you may receive a temporary crown to maintain the appearance of your smile while the implant heals.
Step 4: Abutment and Crown Placement
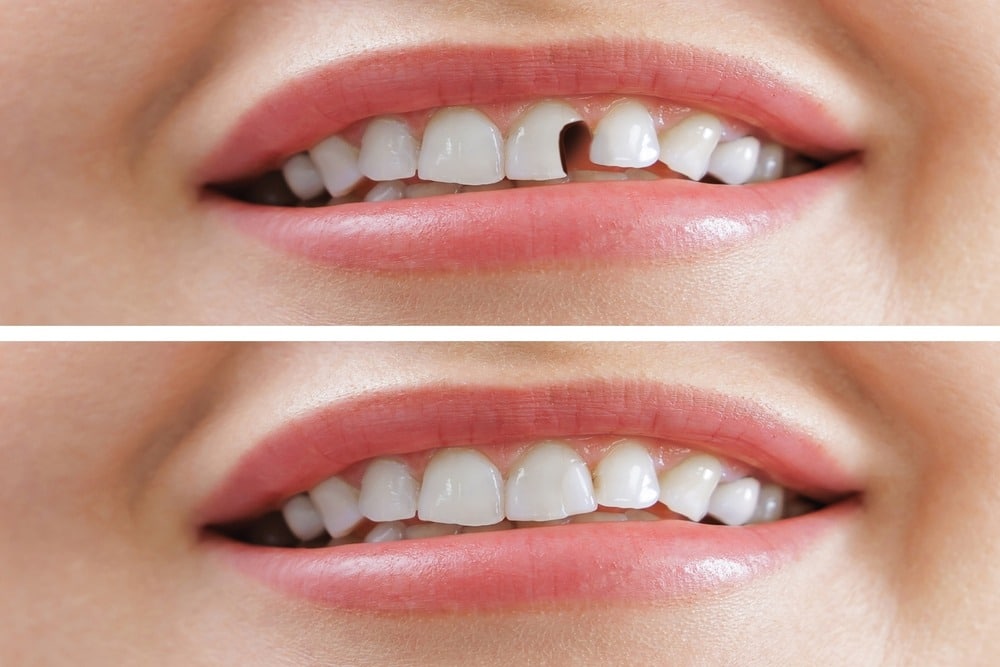
After the implant fully integrates with the bone, the next step involves attaching an abutment, a small connector piece, to the implant. The abutment is a base for the crown, the visible part of your new tooth. Impressions of your mouth are taken to custom-design a crown that matches your natural teeth in color, size, and shape. Once crafted, the crown is securely attached to the abutment, providing a natural-looking and fully functional replacement for your knocked-out front tooth.
Replacing a knocked-out front tooth with a dental implant is a thorough journey, carefully designed to ensure optimal comfort and durability. From the initial consultation to the final crown placement, each step builds on the previous one, creating a strong and aesthetically pleasing result. Dental implants offer a permanent solution, allowing you to smile, speak, and eat more confidently. If you’ve lost a front tooth and are considering an implant, consulting with a dental professional can guide you toward the best options for restoring your smile.
Restoring Your Smile with Dental Arts San Diego
Losing a front tooth can be challenging, but Dental Arts San Diego is here to help restore your confident smile through a seamless dental implant process. With our expert guidance, you’ll experience a comfortable and efficient procedure tailored to your unique needs. Dental implants offer a permanent, natural-looking solution that enhances your appearance and supports oral health. Trust Dental Arts San Diego to bring back your smile—contact us today at (619) 762-4430 to learn more about how we can assist you.

